Step by step tutorial to share your printer and print wirelessly (in WiFi) on your old USB printer using a Raspberry Pi (which is networked).
Contents
Raspi printing server
Usual update
We start with the usual update
sudo apt-get update
sudo apt-get upgrade
Installation of CUPS to share your printer
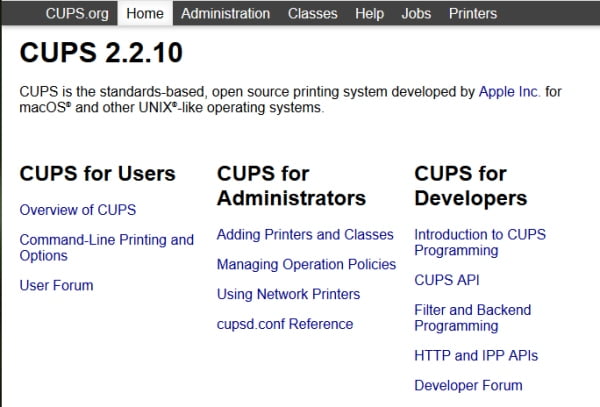
We can now install CUPS developed by Apple for MacOS and Linux (which we use here on Linux).
sudo apt-get install cups
Then configure it
sudo nano /etc/cups/cupsd.conf
Replace “listen localhost:631” (which forces CUPS to listen only to local port 631) with “listen 631” (which allows network machines to access CUPS).
# Only listen for connections from the local machine.
# A remplacer: Listen localhost:631
Listen 631
Listen /var/run/cups/cups.sock
Add “BrowseAddress @LOCAL” in the “# Show shared printers on the local network” section. The BrowseAddress value indicates to which hosts the printer information will be broadcast. “@LOCAL” means “all” hosts on the connected local network.
# Show shared printers on the local network.
Browsing On
BrowseLocalProtocols dnssd
BrowseAddress @LOCAL # Add here
Insert “Allow @Local” in the followint paragraph
- Restrict access to the server…
- Restrict access to the admin pages…
- Restrict access to configuration files…
# Restrict access to the server...
  Order allow,deny
  Allow @Local # Ajout ici

# Restrict access to the admin pages...
  Order allow,deny
  Allow @Local # Ajout ici

# Restrict access to configuration files...
  AuthType Default
  Require user @SYSTEM
  Order allow,deny
  Allow @Local # Ajout ici
Add user to user group “lpadmin“.
It is then necessary to add a user to the user group “lpadmin”. This can be the default user “pi”. You can also create a new user if you want. But it is not mandatory. Here we use the user pi.
sudo usermod -aG lpadmin pi
Install the printer drivers
Pour HP
sudo apt-get install hplip
sudo hp-setup -i
Pour Samsung
sudo apt-get install printer-driver-splix
Pour Epson
sudo apt-get install printer-driver-escpr
Restart CUPS after installing the packages you are interested in.
sudo service cups restart
Install SAMBA on the Raspi
Install SAMBA
sudo apt-get install samba samba-common-bin
Configure the share
Modify the samba configuration file
sudo nano /etc/samba/smb.conf
Add in the [global] section
# Impression avec CUPS
load printers = yes
printing = cups
printcap name = cups
At the end of the file modify [printers] and [print$] as follows:
[printers]
comment = All Printers
browseable = no
path = /var/spool/samba
public = yes
printable = yes
guest ok = yes
writable = no
create mask = 0700
# Windows clients look for this share name as a $
# printer drivers
[print$]
comment = Printer Drivers
path = /var/lib/samba/printers
browseable = yes
read only = yes
guest ok = no
write list = pi
Restart SAMBA to take these changes into account.
sudo service smbd restart
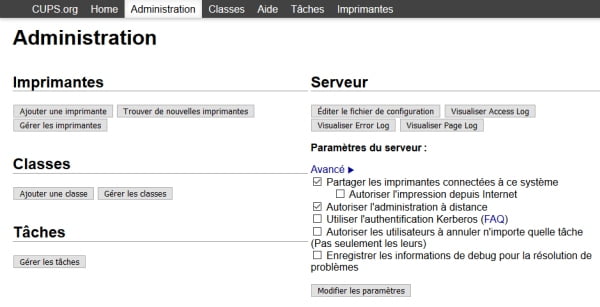
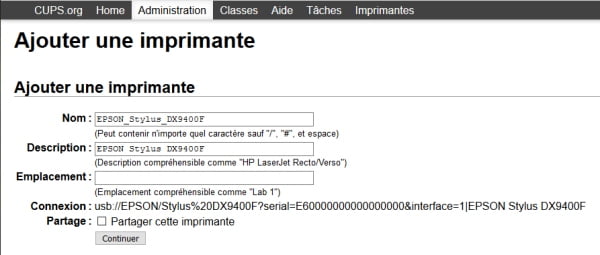
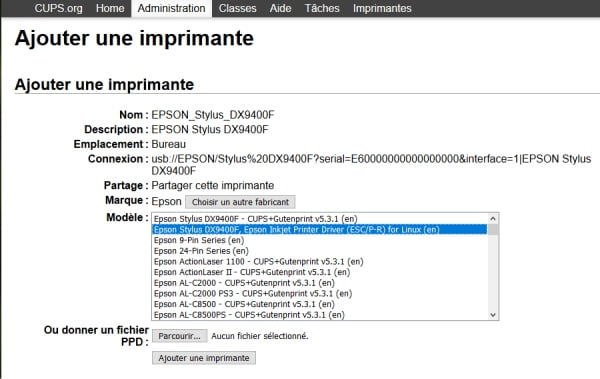
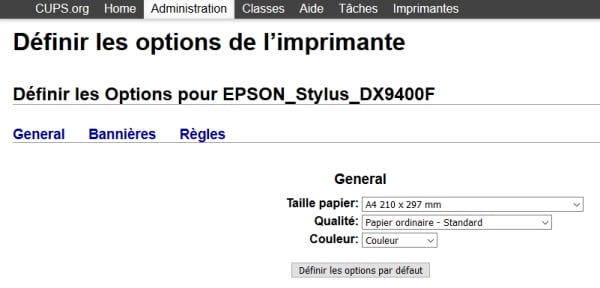
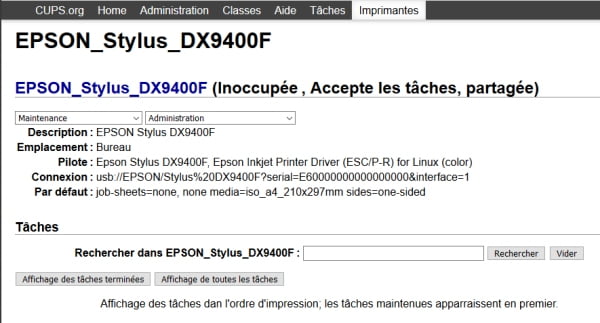
Set up the CUPS print server
Open a browser on the CUPS admin page, either on the Raspberry Pi or on a PC connected to the same network. Enter the address of the RasPi, followed by the port number separated by a colon. Ex: 192.168.1.59:631.
Be sure to enable printer sharing by checking the box when asked during the process.