
A Synology NAS is a fantastic tool for storing and organizing your digital files and can also provide a variety of services and apps for you to use both locally on your network or remotely. However, you want to make sure you know how to secure your Synology NAS.
Contents
Key measures to secure your Synology NAS
Below are some of the “best practices” that you can follow to secure a Synology NAS.
Disable Admin Account
The fist action is to make sure that you disable the admin account when you set up your Synology NAS.
You must create a new user and ensure that he has admin permissions before disabling the admin user.
Open Control Panel, then select User & Group
Edit the admin user Select
Disable this account, then select Save

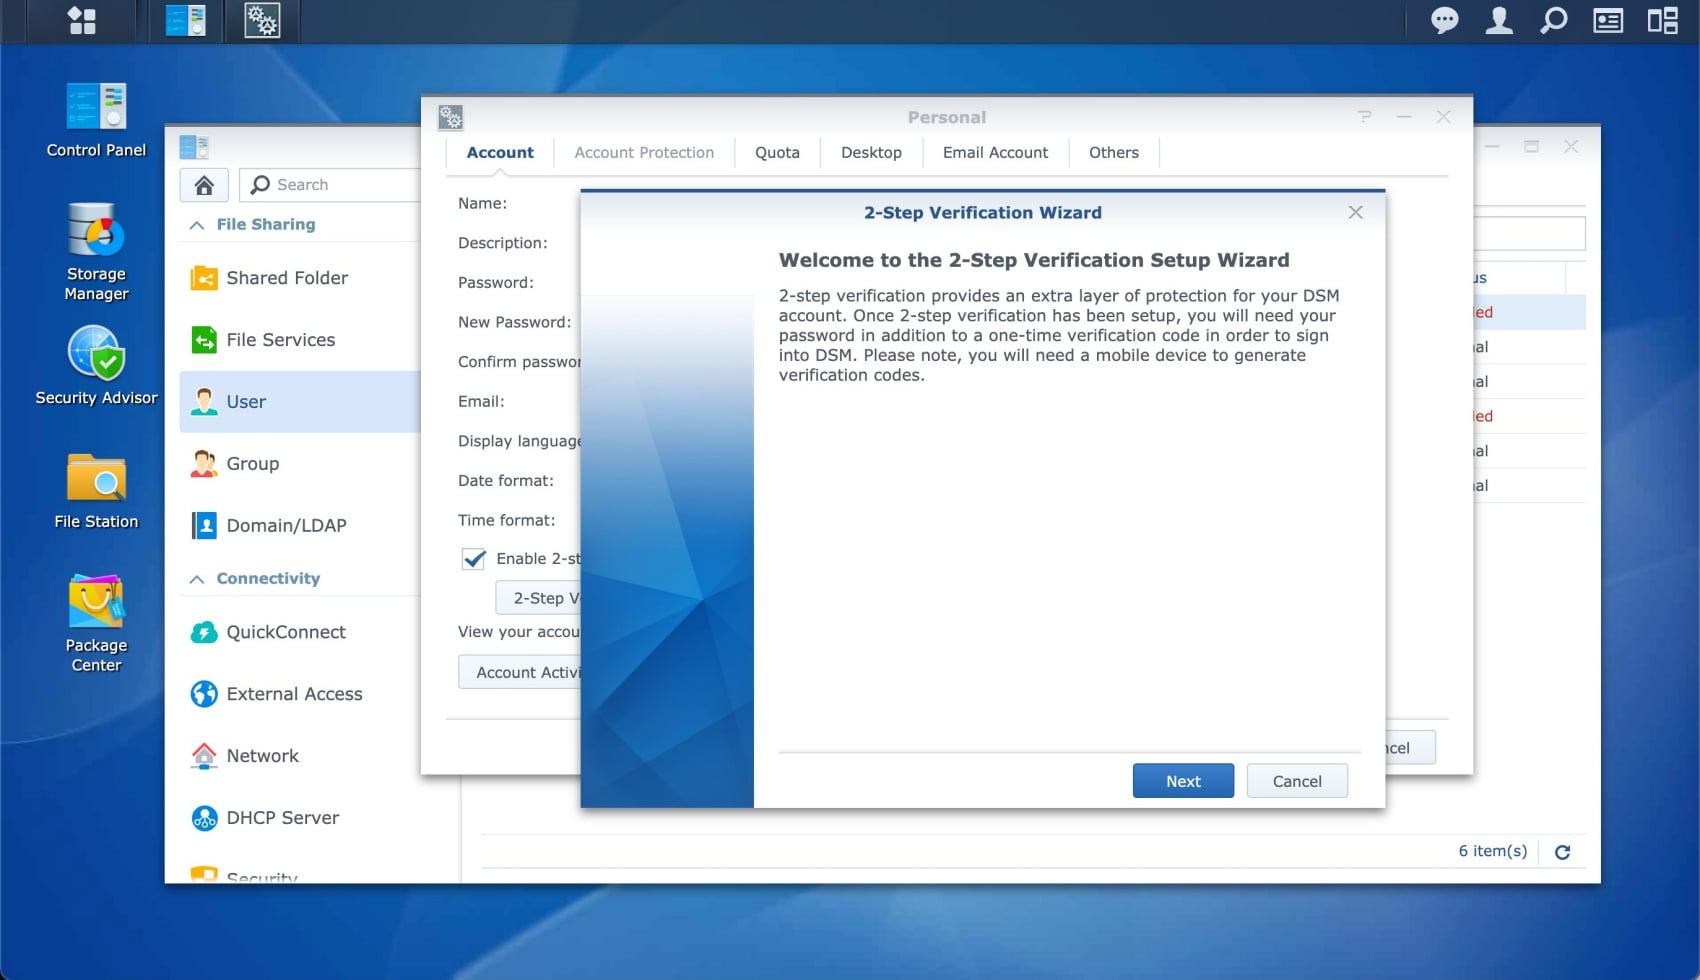
Enable two-factor authentication (2FA)
The second key measure is to activate the multi-factor authentication that requires users to enter a TOTP security code in addition to its usual password.
Select the Person icon in the top right and select Personal
Check the Enable 2-step Authentication checkbox
Click the button '2-Step
Verification' Follow the wizard to activate TOTP 2FA code
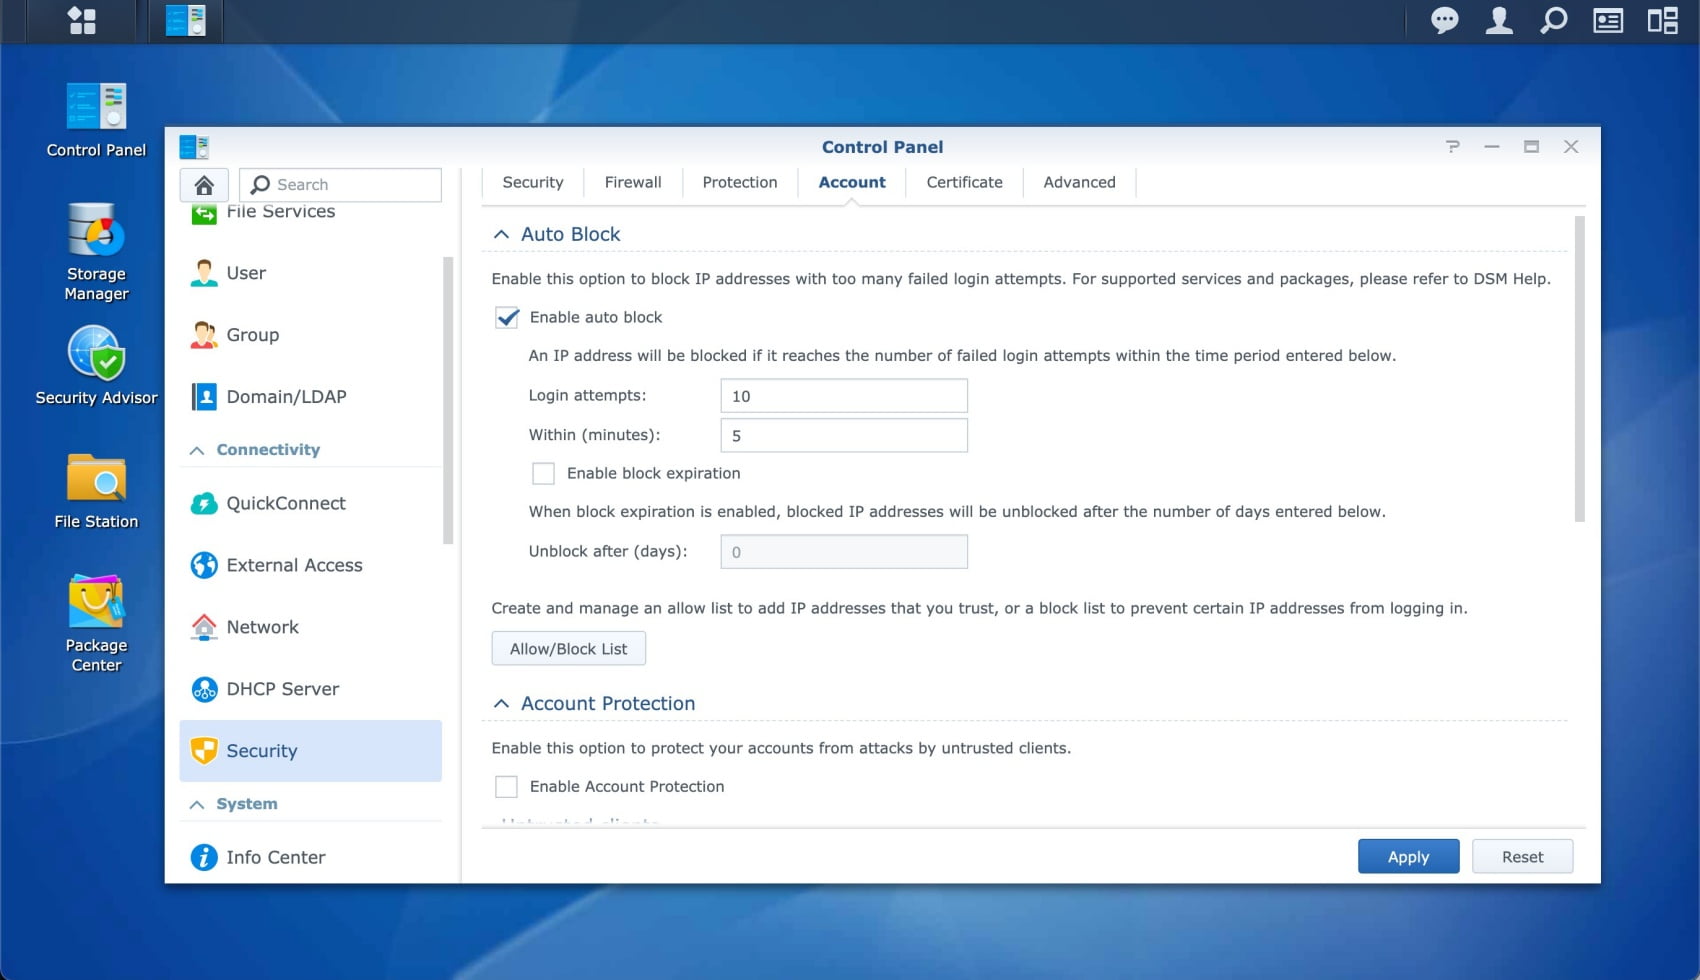
Enable auto block
In addition to 2FA, auto block will automatically block IP addresses that have failed a certain number of logins during a certain period of time to prevent brute force attack.
Open Control Panel and select Security
Select Account
Ensure Enable auto block is selected
Set the Login Attempts and Within parameters, then apply
Schedule regular Antivirus scans
The free default Synology antivirus solution is an additional security layer supplement your endpoint protections (computer, mobile devices, etc…).
Go in Package Center, and open Antivirus Essential
Make sure the package Antivirus Essential is installed
Open the package Antivirus Essential and go to Scheduled Scan
Make sure a weekly scan is scheduled

Activate CSRF and CSP protections
A Content Security Policy (CSP) is a set of instructions for browsers to follow when loading up your website, delivered as part of your website’s HTTP Response Header. And a Cross-Site Request Forgery (CSRF) is an attack that forces an end user to execute unwanted actions on a web application in which they’re currently authenticated.
Open Control Panel, then select Security
Select Security
Make sure Improve protection again cross-site request forgery attacks is checked
Make sure Improve security with HTTP Content Security Polcy (CSP) header is checked

Disable outdated versions of SMB
By default, SMB1 is running on Synology for increased compatibility. You should disable SMB1 as soon as possible. A reason why one of the first crypto locker viruses spread so quickly on the computer networks was the use of outdated SMB protocol on Microsoft Windows.
Open Control Panel, then select Files Services
Select SMB / AFP / NFS
Click the Advanced Settings of the SMB section
Make sure the minimum SMB protocol is set to SMB 2 and large MTU

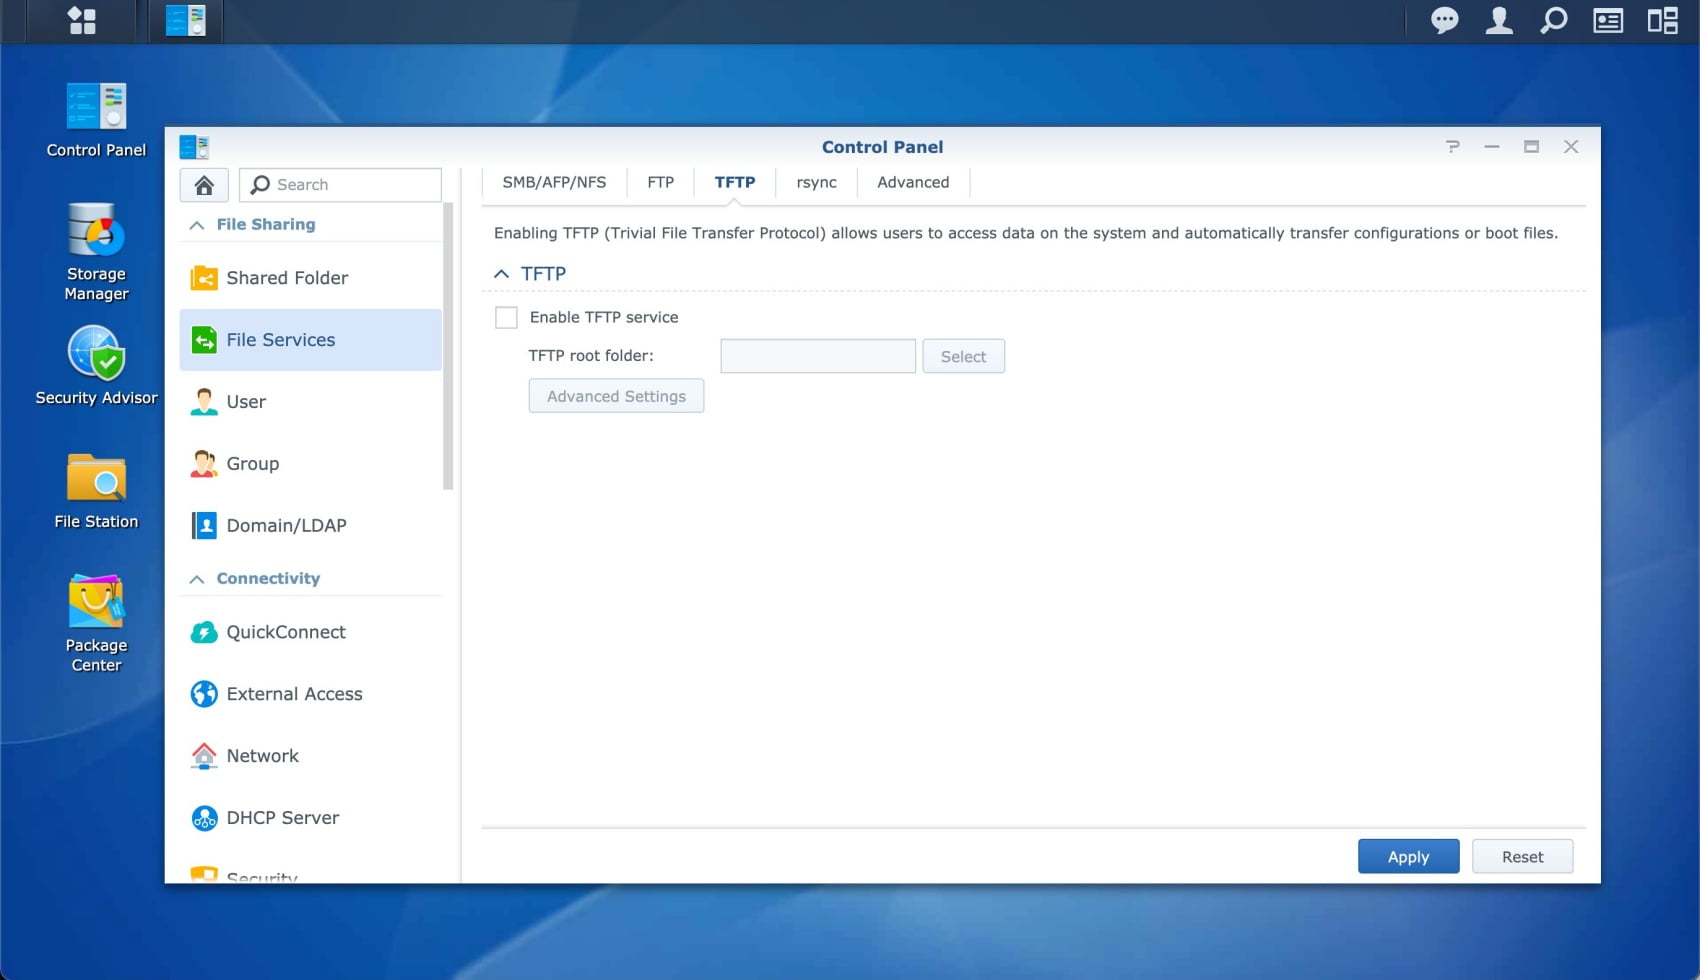
Disable TFTP protocol
TFTP protocol is a simpler version of the classic FTP which is used mainly to update the firmware on network devices such as routers, commuters or IP phones. It is an unsecured protocol that must be deactivated.
Open Control Panel, then select Files Services
Select TFTP
Make sure TFTP services are unchecked
Prefer SFTP, rather than FTP
With SFTP, your connection is always secured and the data that moves between your FTP client and your web server is encrypted.
The key difference between FTP vs SFTP is that SFTP uses a secure channel to transfer files while FTP (and even TFTP) doesn’t. So you’d better user SFTP.
Open Control Panel, then select Files Services
Select FTP
Make sure FTP services are unchecked
You can check SFTP services if you plan to use this protocol

Disable Telnet and SSH services
There are multiple reasons why you might want to use SSH, but if you’re not actively using it, you should disable it. Even if you enable two-factor authentication above, SSH does not use it. For this reason, if your network is compromised, an attacker can try and brute force your password through SSH.
Telnet is not a reliable protocol and should be avoided.
Open Control Panel, then select Terminal & SNMP
Ensure that Enable Telnet service is checked off
Ensure that Enable SSH service is checked off

Redirect HTTP to HTTPS
When you’re accessing your NAS remotely, you can force your NAS to use a HTTPS connection at all times, after having installed an SSL certificate on your NAS first.
Open Control Panel, then select Network
Select DSM Settings
Check Automatically redirect HTTP connection to HTTPS for DSM desktop
Modify the default DSM ports

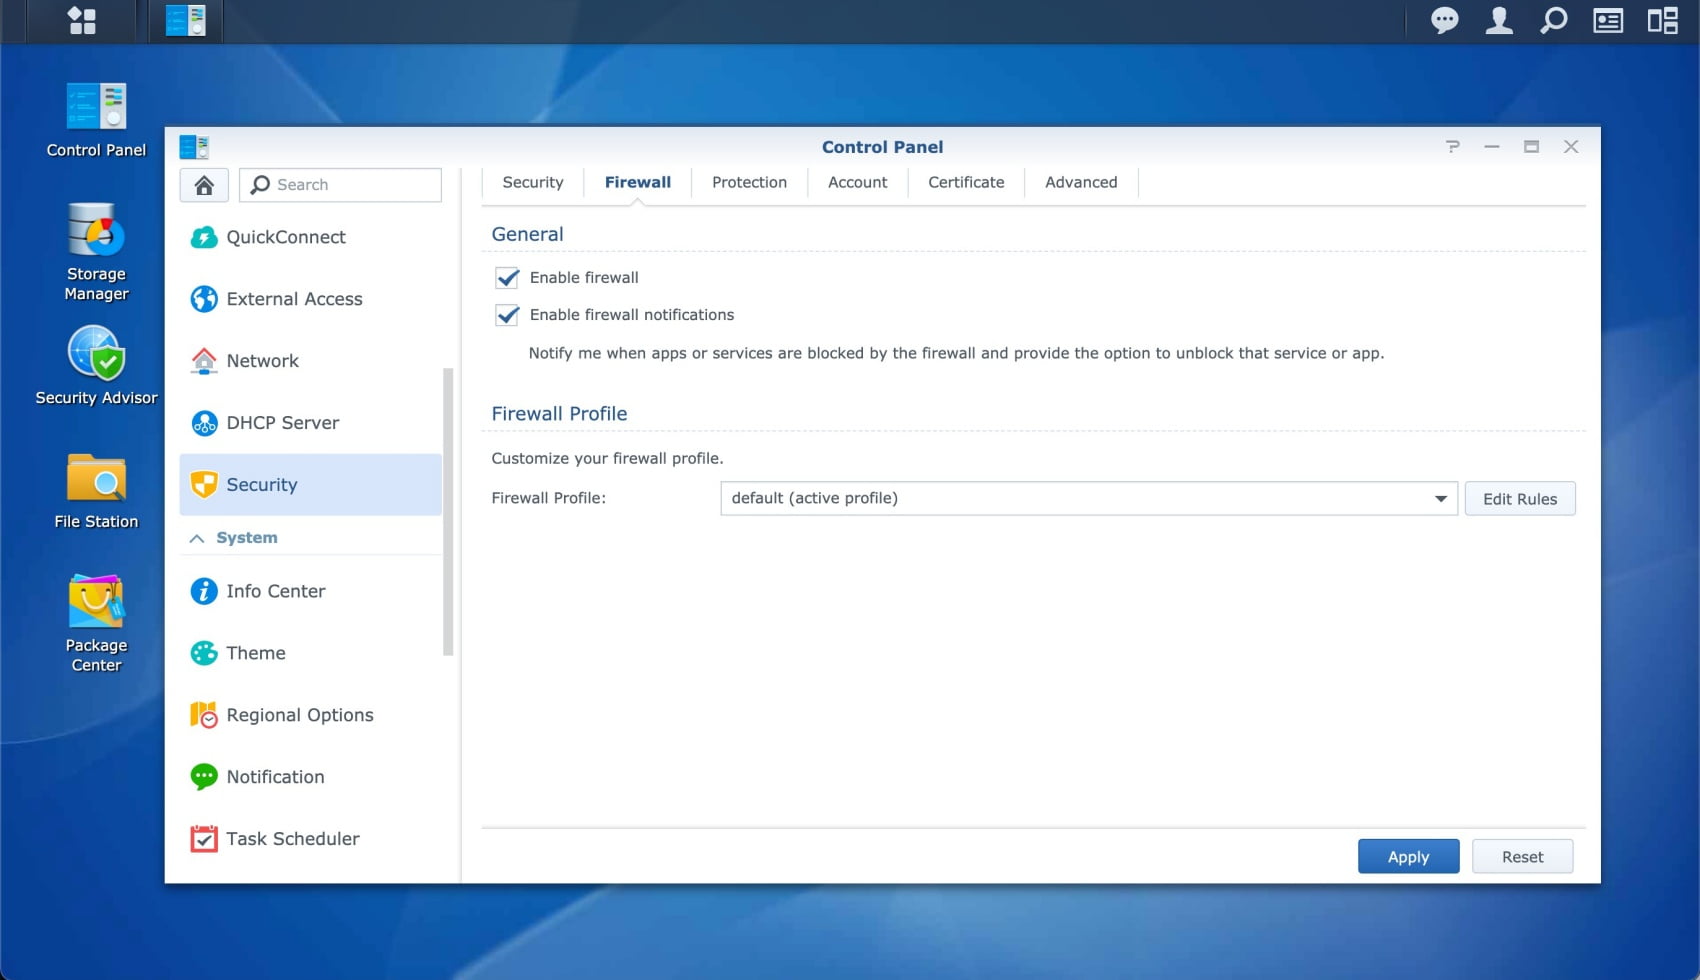
Enable the firewall
In addition, if you expose your NAS to the internet, be sure to check your firewall settings on your NAS and to customize any rules to fit your needs.
Open Control Panel, then select Security
Select Firewall
Check Enable Firewall and Enable Firewall Notifications
Automate updates installation
Last but not least, there’s usually a new update every couple of weeks to make sure that security patches that keep your NAS safe and secure are all installed.
The easiest thing you can do to help secure your NAS is keep the software up to date with automated scheduled check and installation.
Open Control Panel, and then select Update & Restore
Click on Update Settings
Select 'Automatically install the new update'
