Pi-hole runs on a Raspberry Pi and is what is called a black hole against internet ads. Even if the main use is this one, it also allows to filter some threats like malware sites, cryptomoney mining sites, sites allowing the diffusion of ransomwares or even telemetry sites, commonly spread by some GAFAM.
Contents
How Pi-hole works
The principle of operation is quite simple: pi-hole performs filtering on the basis of the DNS domains requested by all the equipment on the local network and applies filtering on the basis of white and black lists. If the requested domain is in a black list, then the response (the IP address) is modified to point to a local server indicating that this resource is blocked by pi-hole. If you consume a filtered site you will see this specific page allowing you to modify the blacklist, in most cases, the resources are consumed in the background and you will not see the page in question.
The big advantage of this approach is that it also handles secure https sites very well, which is more complex to do with a solution that analyzes URLs in transit, for example in firewalls.
In order to make the solution effective, pi-hole must replace your local DNS server, if you are a private individual it is at the level of your Internet box that you will have to make a specific configuration, if you have a company server, it is at its level that you can act. So in general, you modify the configuration of your DHCP server which assigns IP addresses dynamically to equipment and which will then indicate the address of the new DNS server.
It is also possible to activate the DHCP service in the pi-hole solution, it will be necessary to deactivate the one of its box, which is sometimes easier to do than to modify the configuration. This solution also allows you to have the names of the machines on your network in the statistics interface, which is quite practical for digging around.
Pi-hole installation, step by step
As its name may indicate, one solution to install the pi-hole solution is to implement it on a raspberry pi. On the one hand it is quite logical in terms of dimensioning because the DNS traffic is largely acceptable for a small machine of this kind, on the other hand it is simple to install, the cost is moderate and the power consumption of a Raspi is very modest.
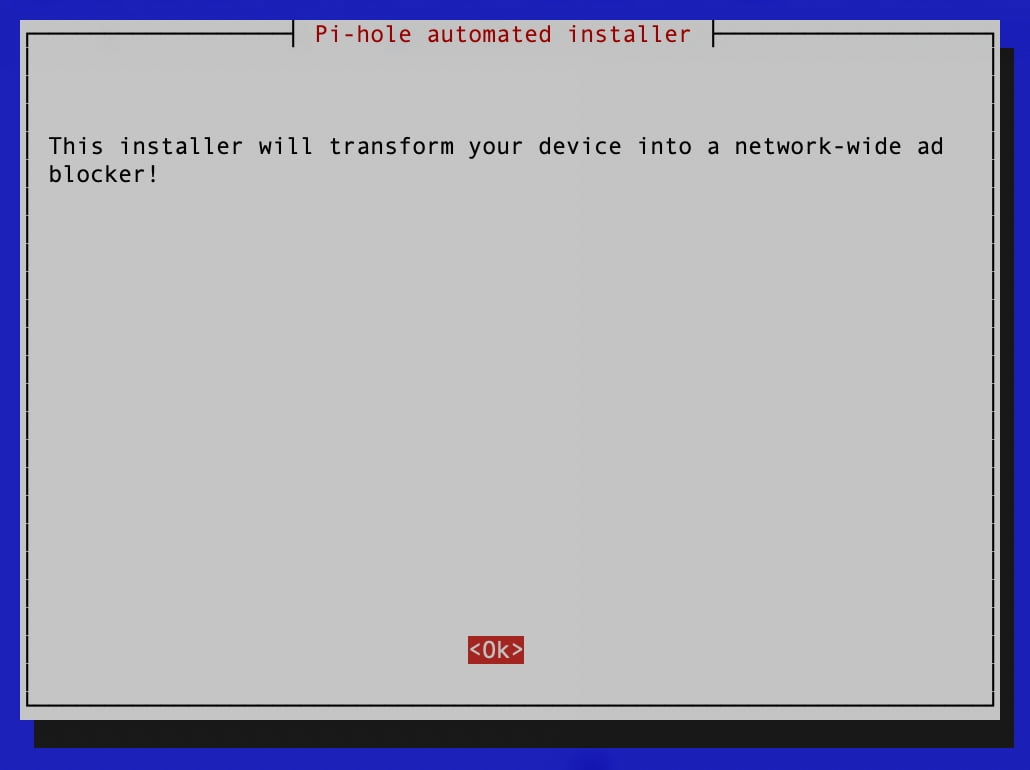
Launching the installation
curl -sSL https://install.pi-hole.net | bash

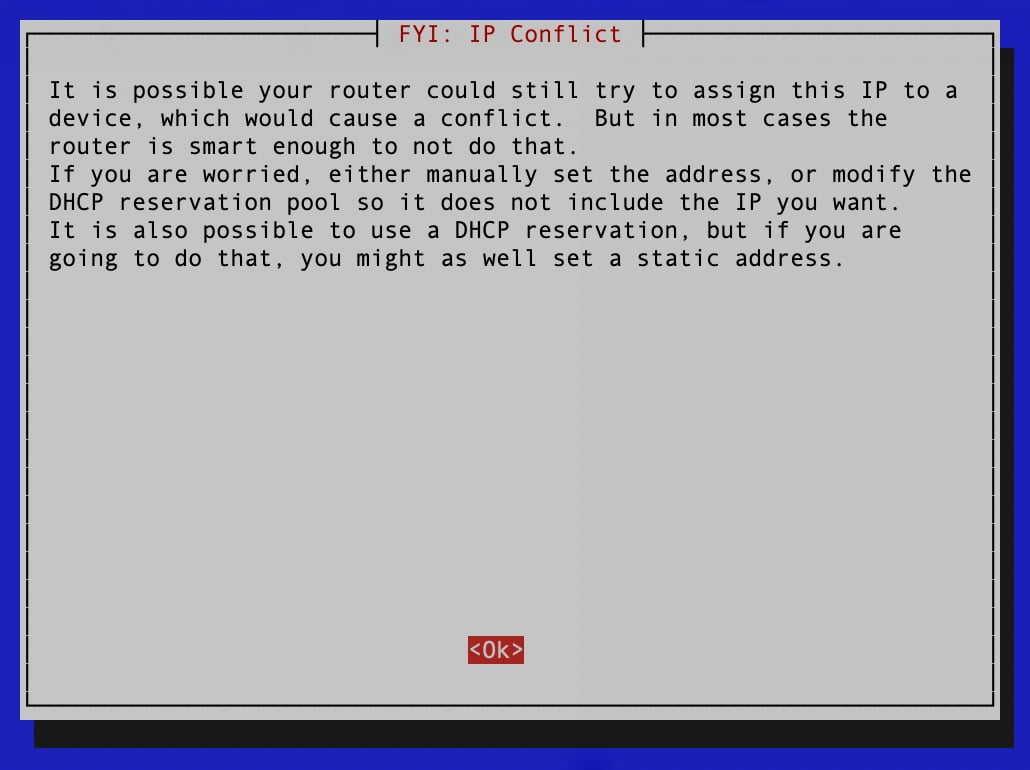
Fixed IP address
Pi-hole tells you that it will use the IP address assigned via DHCP, to be activated at your box (or router).

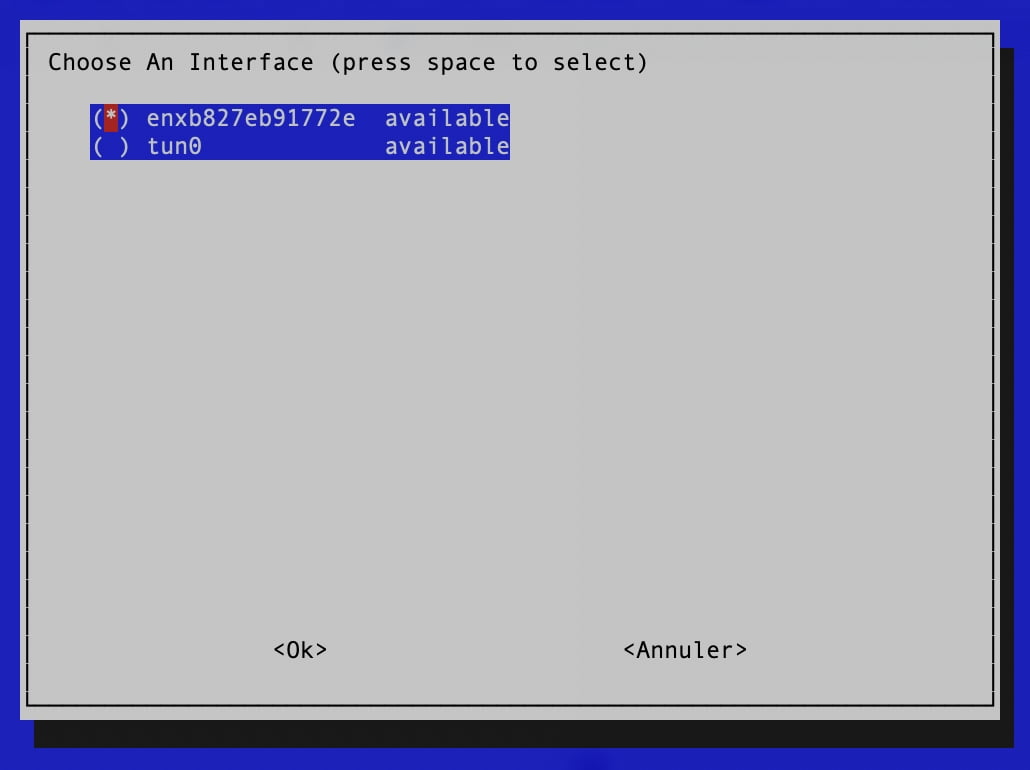
Choice of interface
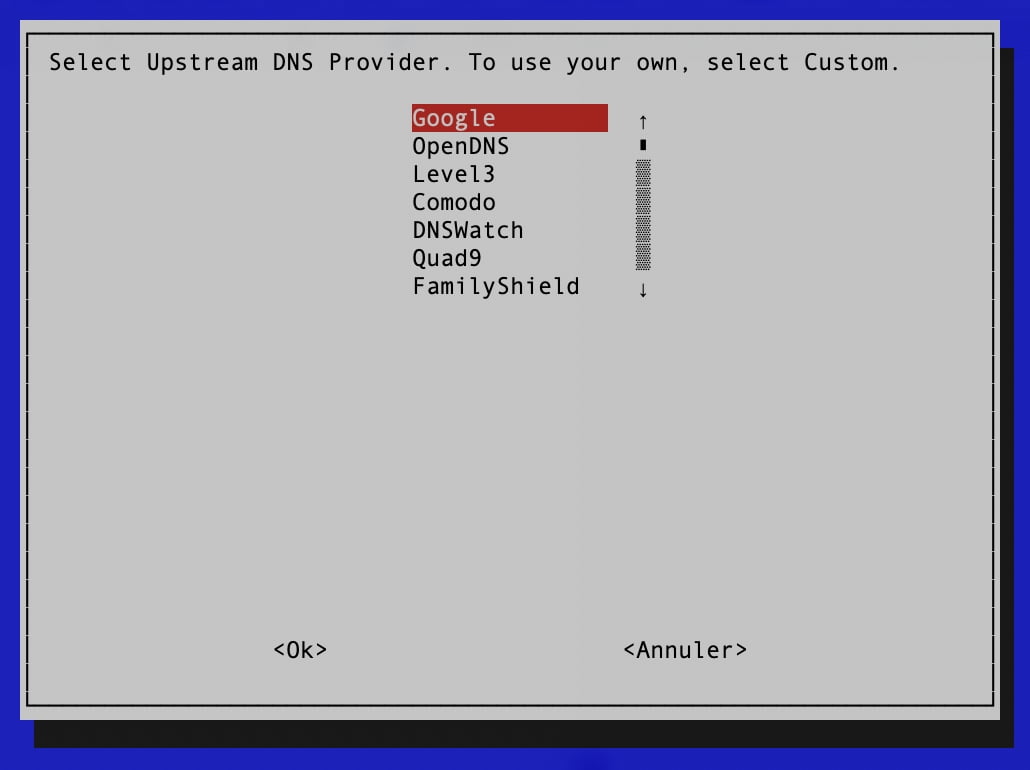
Choice of the source DNS
Pi-hole will use Google DNS as a source, which it will then filter according to its lists.
Choice of filters
We take everything by default.

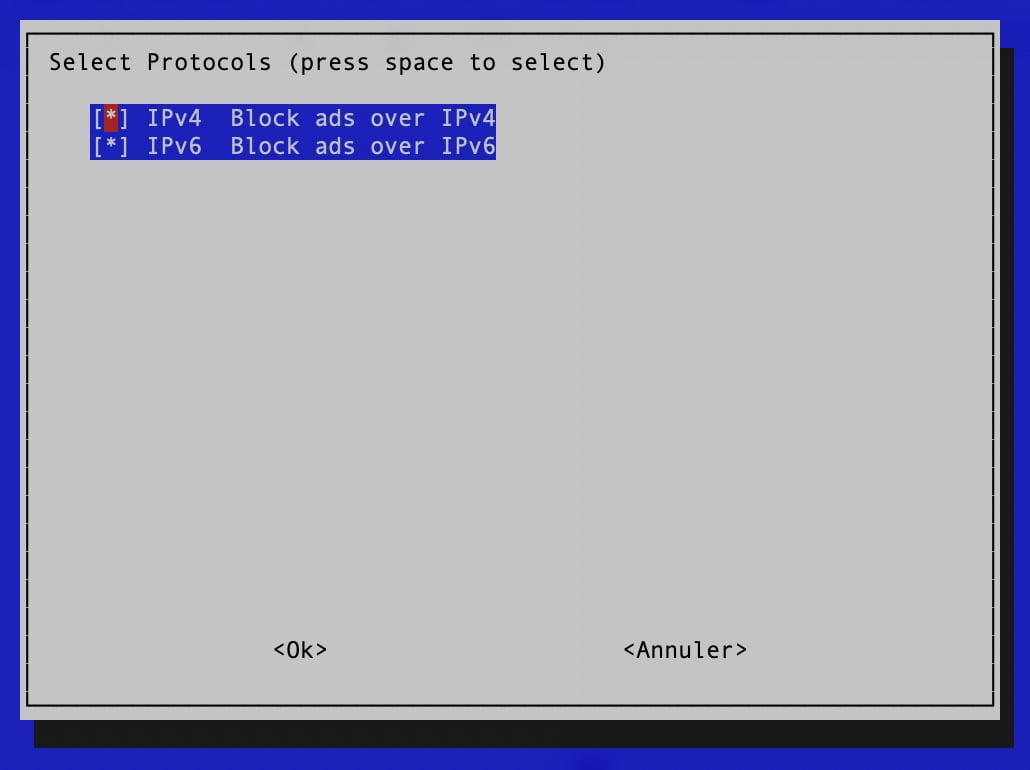
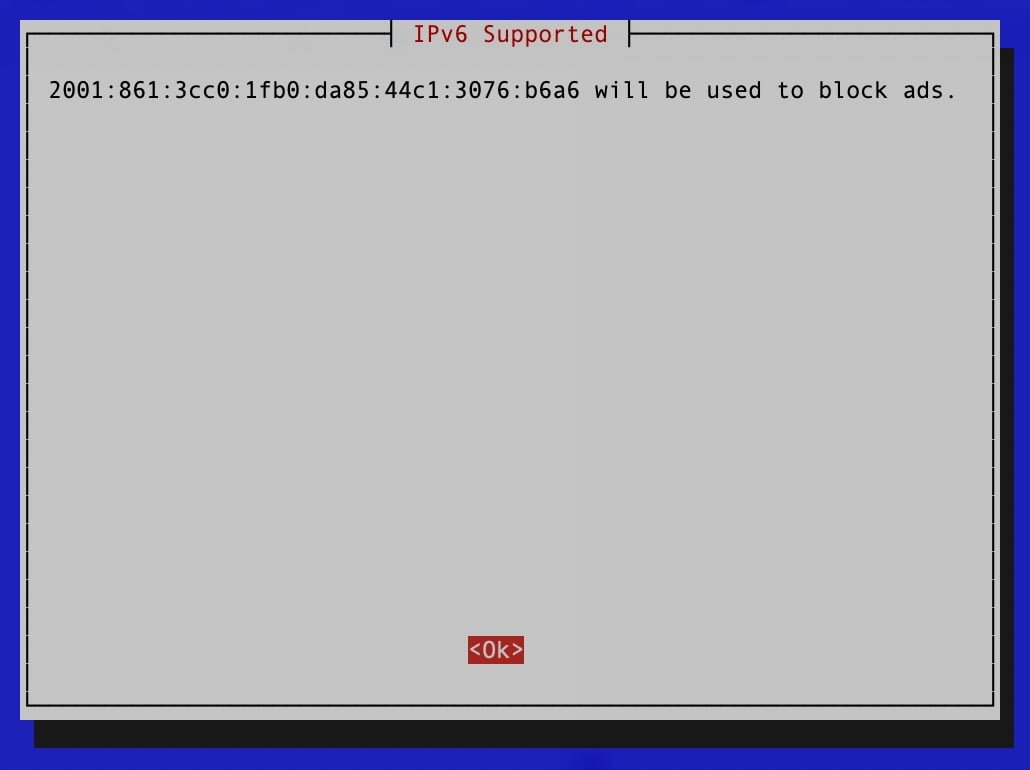
IP protocols
We choose IPv4 and v6 by default.
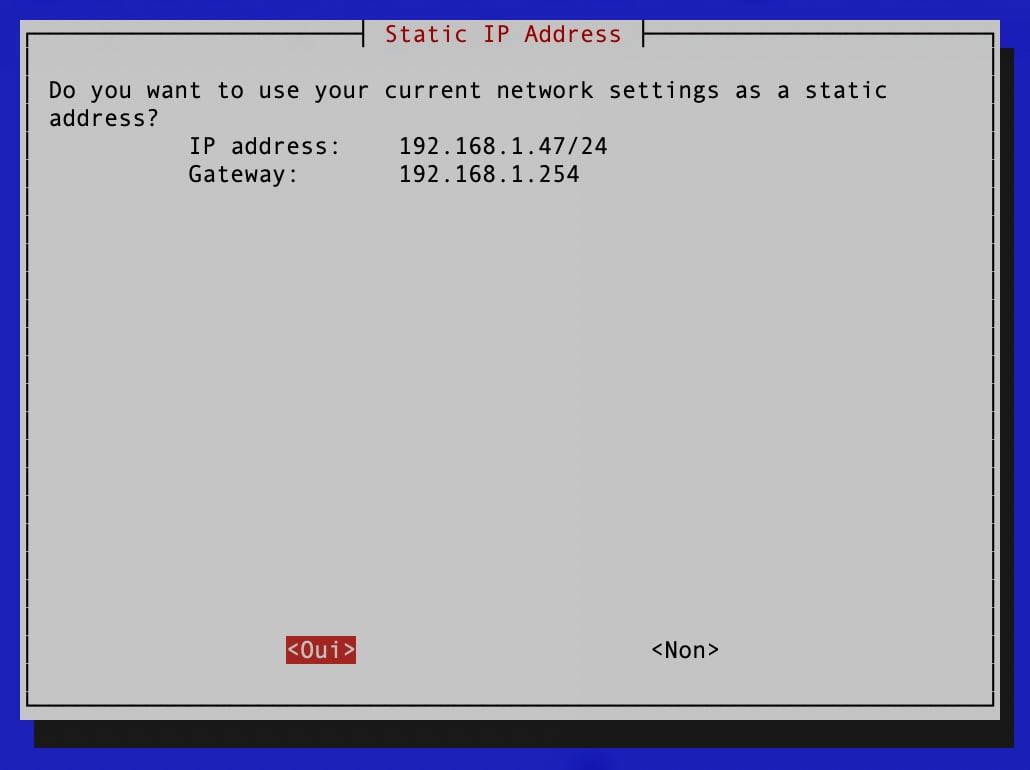
Confirmation of the fixed IP
Here you will get yours (your Raspi’s).
Installation of the graphic interface
It is clearly recommended to use it to have stats and graphics.


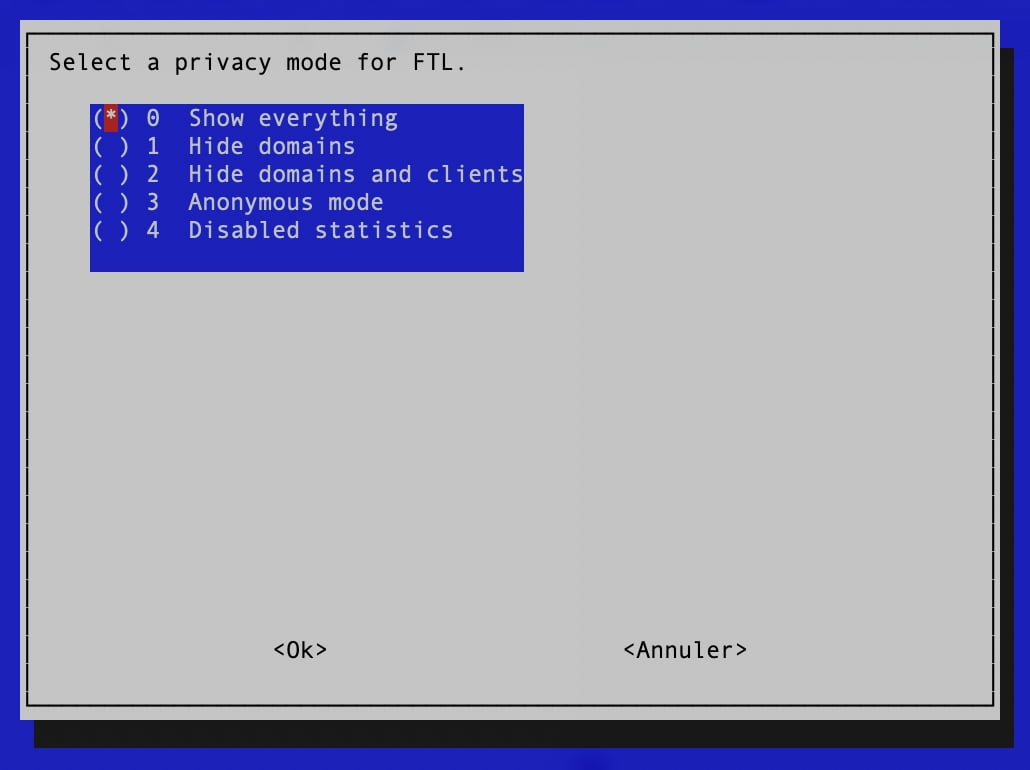
Activation of logs
Default choice active.

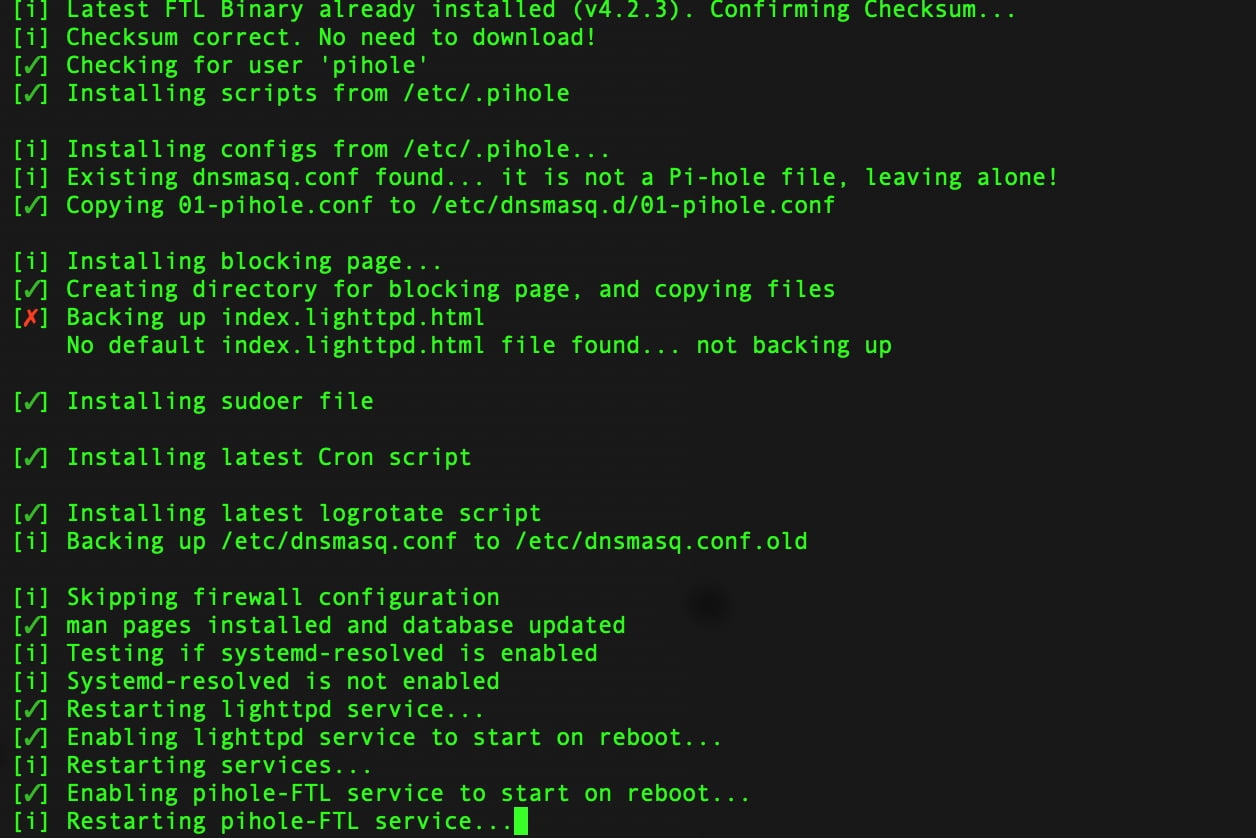
End of the installation