
If you want to install an OpenVPN server at home and use your personal connection from your phone or tablet to transmit your data securely, it is possible thanks to a Raspberry Pi, a small SD card of at least 8GB and the script PiVPN.
Contents
How PiVPN works
There are different ways to enjoy a secure connection through a VPN. The option adopted by the majority of users is to install a free or paid VPN software offering an easily accessible interface and a list of pre-configured servers. These applications are not all without flaws: in addition to limiting you to the provider’s servers, they can be cumbersome, lack responsiveness and above all offer generally limited choices in configurations.
PiVPN allows you to install OpenVPN very easily on your RaspberryPi.
This is where OpenVPN stands out and is highly appreciated by its users. First of all, the application offers a universal approach by allowing you to connect to any VPN server as long as you have the connection settings or configuration files. Configuring OpenVPN is very easy. So you don’t have to install software every time you change providers for some reason.
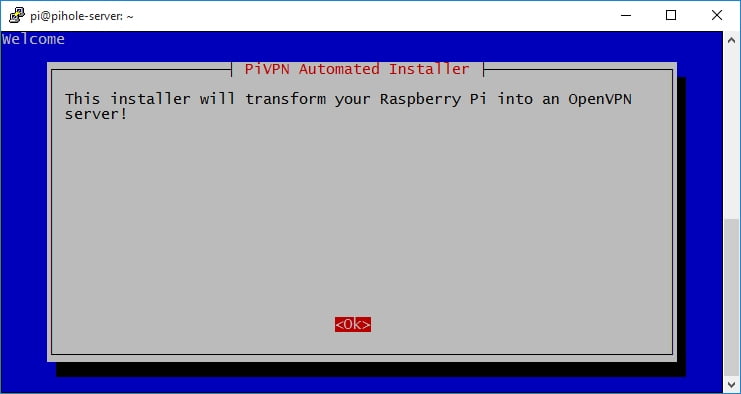
PiVPN installation, step by step
As its name may indicate, one solution to install the pi-hole solution is to implement it on a raspberry pi. On one hand it is quite logical in terms of dimensioning because the VPN traffic is largely acceptable for a small machine of this kind, on the other hand it is simple to install, the cost is moderate and the power consumption of a Raspi is very modest.
Launching the installation
curl -L https://install.pivpn.io | bash
Assigning a fixed IP address
PiVPN tells you that it will use the IP address assigned via DHCP, to be activated at your box (or router).

Choice of interface
Ethernet by default, otherwise wifi.

Automatic detection of the static IP address

Tip for setting the static IP
The installer reminds you that your internal IP must be static.

Choice of the user where the configuration will be saved
You will be asked to choose a local user who will manage all OpenVPN configurations.

We keep the user “pi” by default.

Message about installations
It is recommended to program a daily reboot in the CRON.

And we activate the auto updates.


Protocol settings
We keep UDP.

And the default port is 1194. Or you can change the port to 11948 like me.

Confirmation of the port.

Encryption
The new versions propose the encryption by the algo of the elliptic curves.


Choice of access to the VPN
This will be done through your fixed IP (choice 1), unless you have a domain name (choice 2).

DNS Resolution
The VPN server will use Google’s DNS server by default.
You can also check out our tutorial on Pi-hole to use your own DNS filter server, and how to link PiVPN to Pi-hole.

End of the installation
Now we have to create the user profiles.

And to reboot.

Creating a user profile
To create a profile and generate an ovpn file, giving a name and a password:
pivpn -a
Installation on an iPhone
On iPhone, install the openVPN app on iOS.
Bring back on your Mac the ovpn profile located in /home/pi/ovpns using FileZilla.
In iTunes, drop the ovpn file in the openVPN app using file sharing.